
Designing for Laser Cutting: Essential Tips Every Creator Should Follow
Laser cutters are incredibly powerful tools—but only if your design files are prepared correctly. Even the best laser machine can’t compensate for a poorly structured vector file, wrong settings, or overlooked details. For creators, makers, and ecommerce sellers, mastering laser-cutting design principles can save hours of wasted material, prevent production delays, and ensure consistent, professional results.
This beginner-friendly guide breaks down the most important laser-cutting design tips, including kerf, line weights, tolerances, color coding, file organization, and common mistakes to avoid.
Whether you use Adobe Illustrator, CorelDRAW, Inkscape, Affinity Designer, or LightBurn, these principles apply across all major design platforms.
Why Good File Design Matters
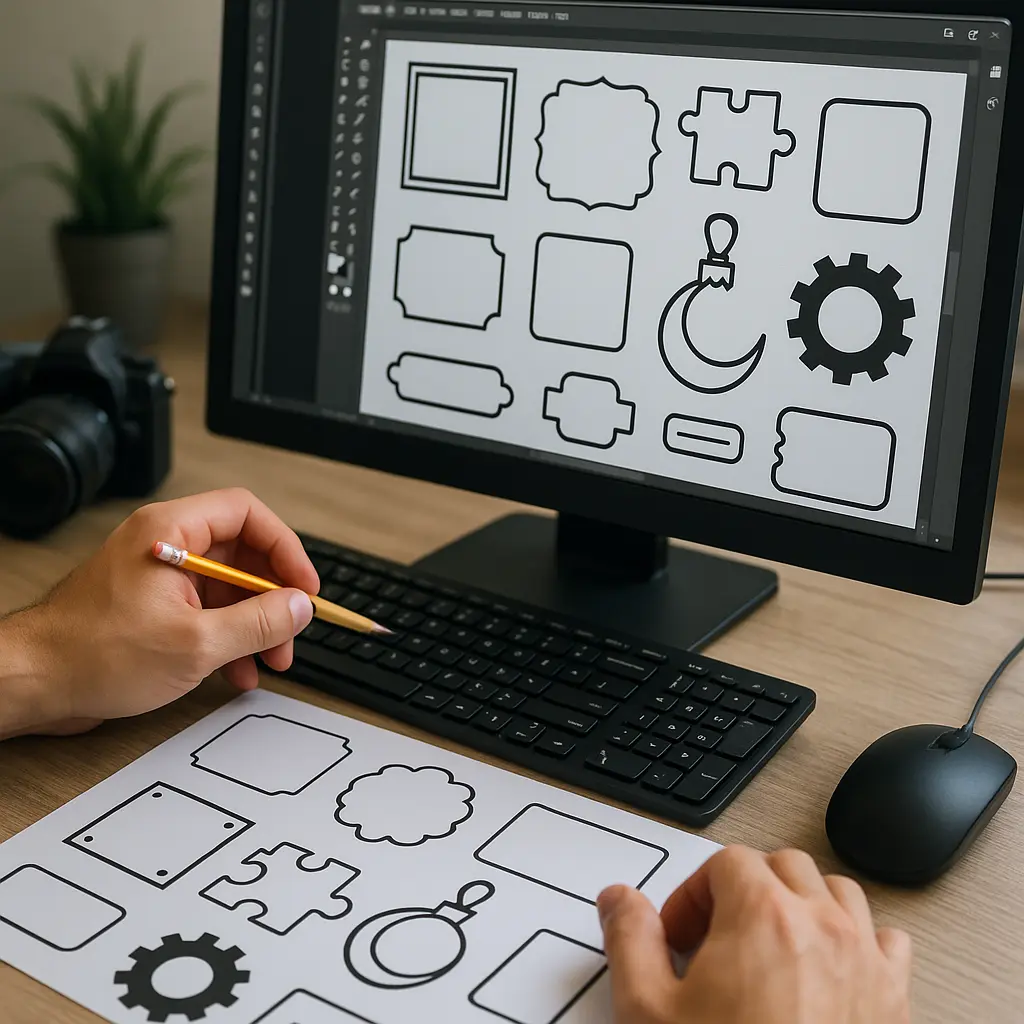
A “beautiful” design isn’t automatically a production-ready design. Laser cutters follow mathematical paths, not artistic interpretations, so your file needs to translate cleanly into machine-readable instructions.
Good design ensures:
- Cleaner cuts
- Fewer burn marks
- Faster production
- Less material waste
- More accurate parts
- Better fit and assembly
- Lower return rates for ecommerce sellers
In other words: good file prep = better products and higher profit margins.
1. Understand Kerf: The Most Overlooked Laser Design Concept
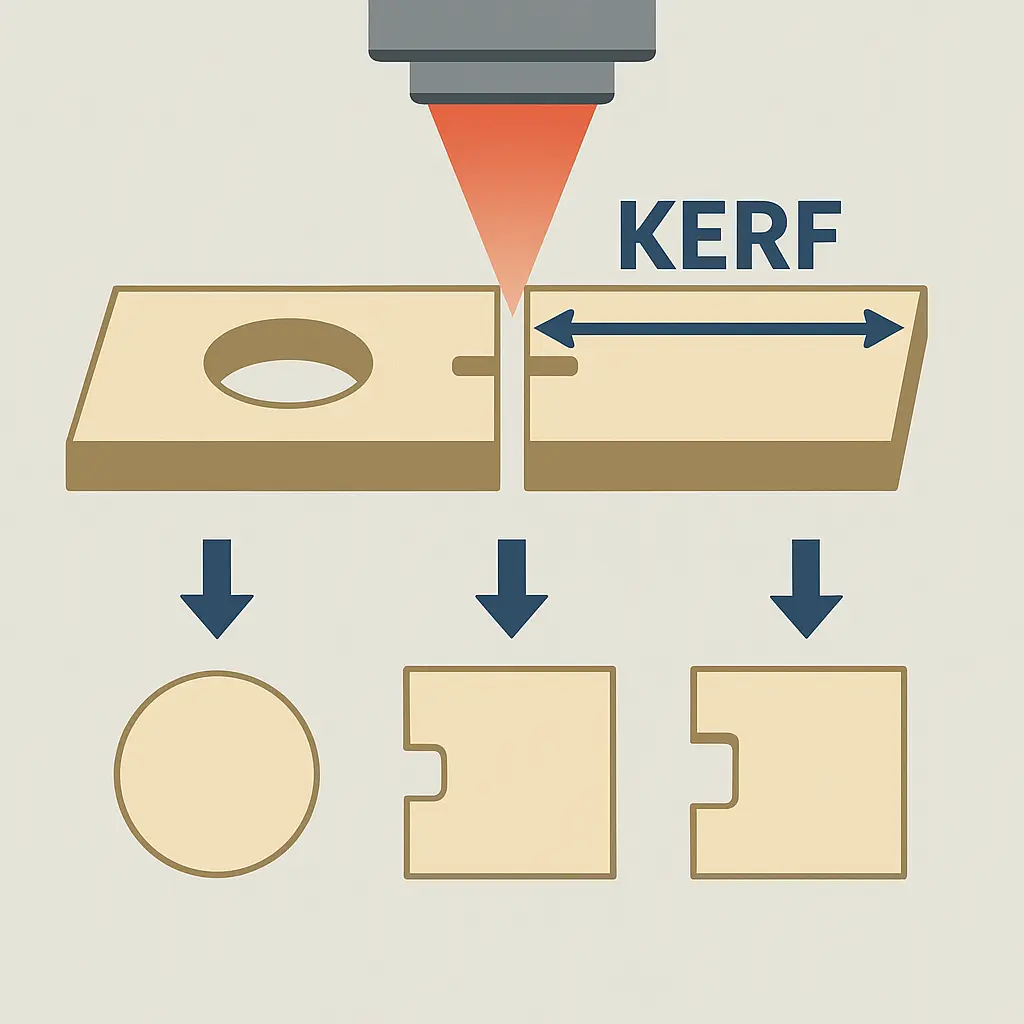
Kerf is the width of material removed by the laser beam during a cut. Every laser has a kerf—usually between 0.05mm and 0.3mm, depending on the machine, lens, and material.
Why Kerf Matters
- Shapes will be slightly smaller than designed.
- Holes will be slightly larger.
- Parts that need to interlock may be too loose or too tight.
- Boxes or joints may not align correctly.
How to Design with Kerf in Mind
- Measure kerf for each material (run a test cut of a known dimension, then compare).
- Adjust your vector paths manually or use parametric tools in software to offset paths.
- Compensate for tight fits when designing joints or finger tabs.
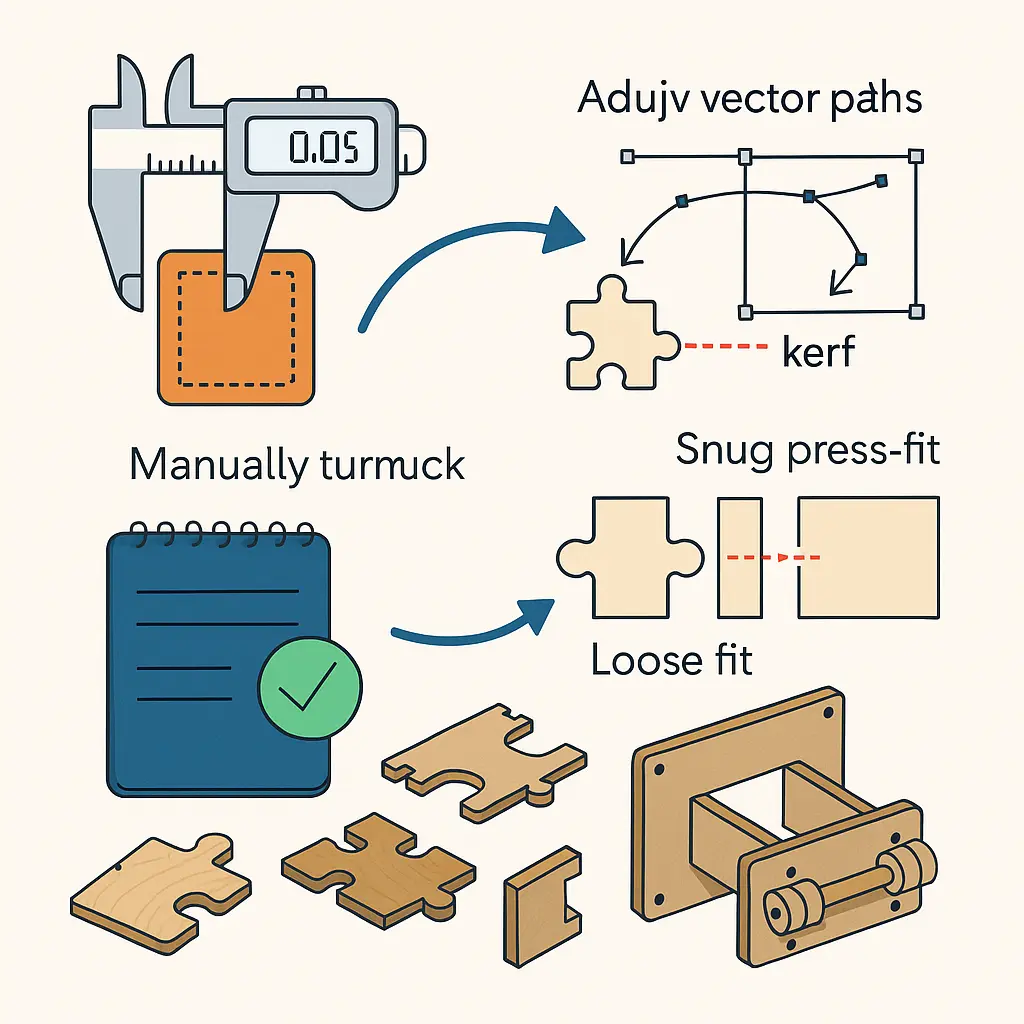
General Guidelines
- For snug press-fit joints, subtract the kerf from the slot width.
- For loose or sliding fits, add kerf clearance.
Kerf compensation is especially important when designing boxes, puzzle pieces, mechanical parts, and anything requiring assembly.
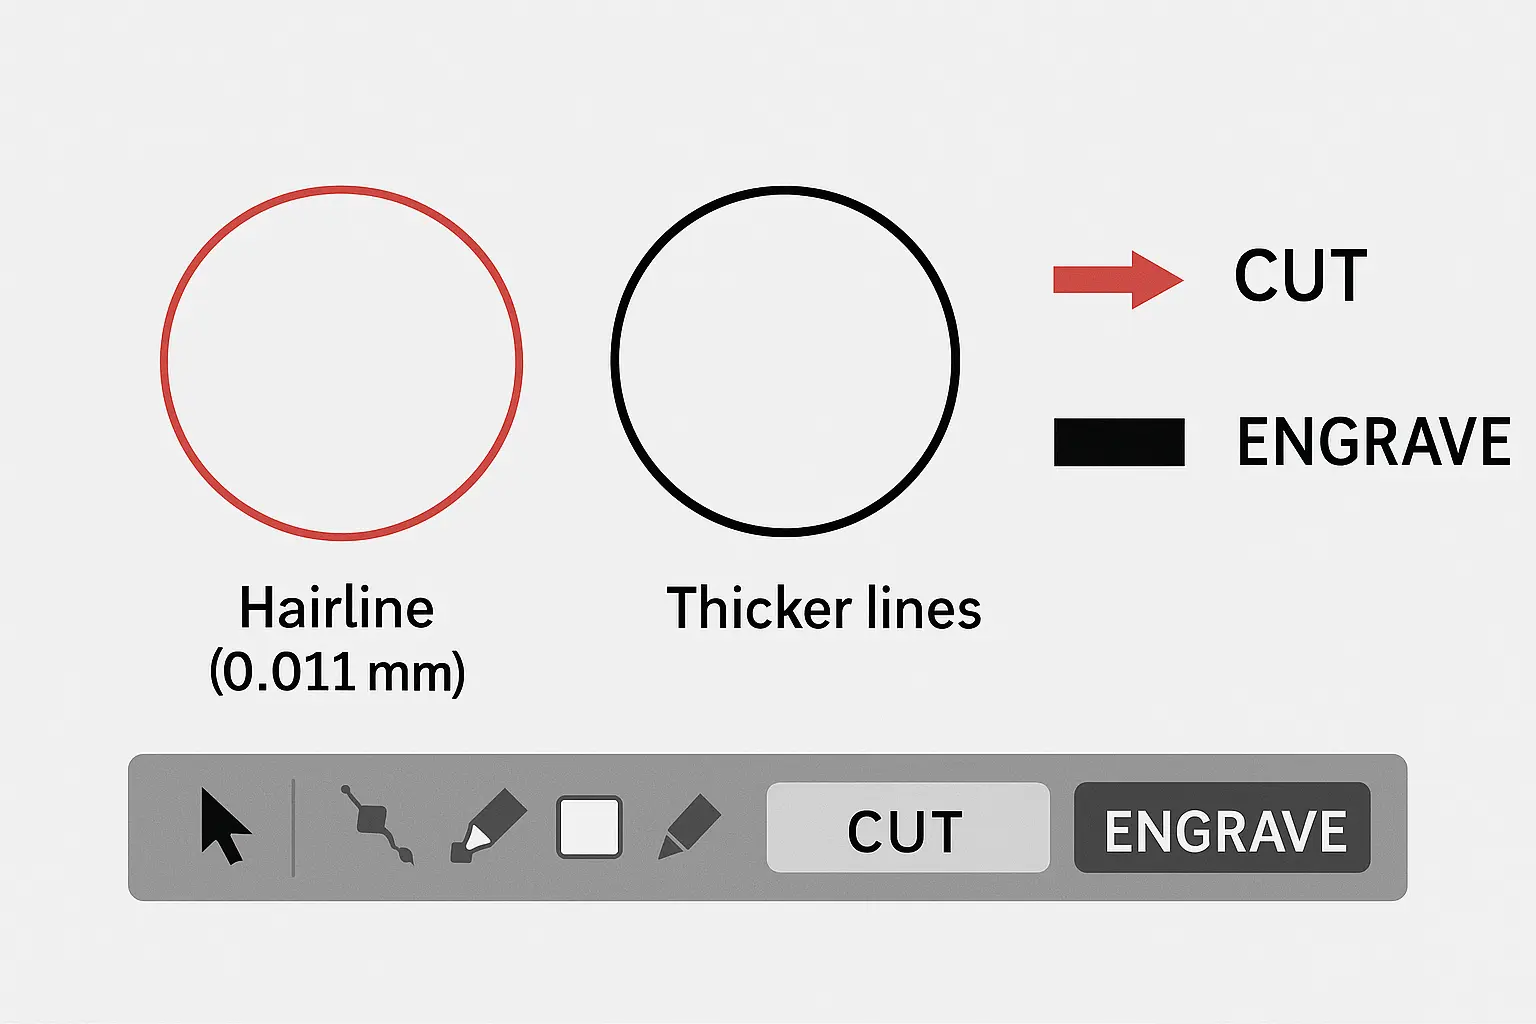
2. Use Proper Line Weights for Cutting vs. Engraving
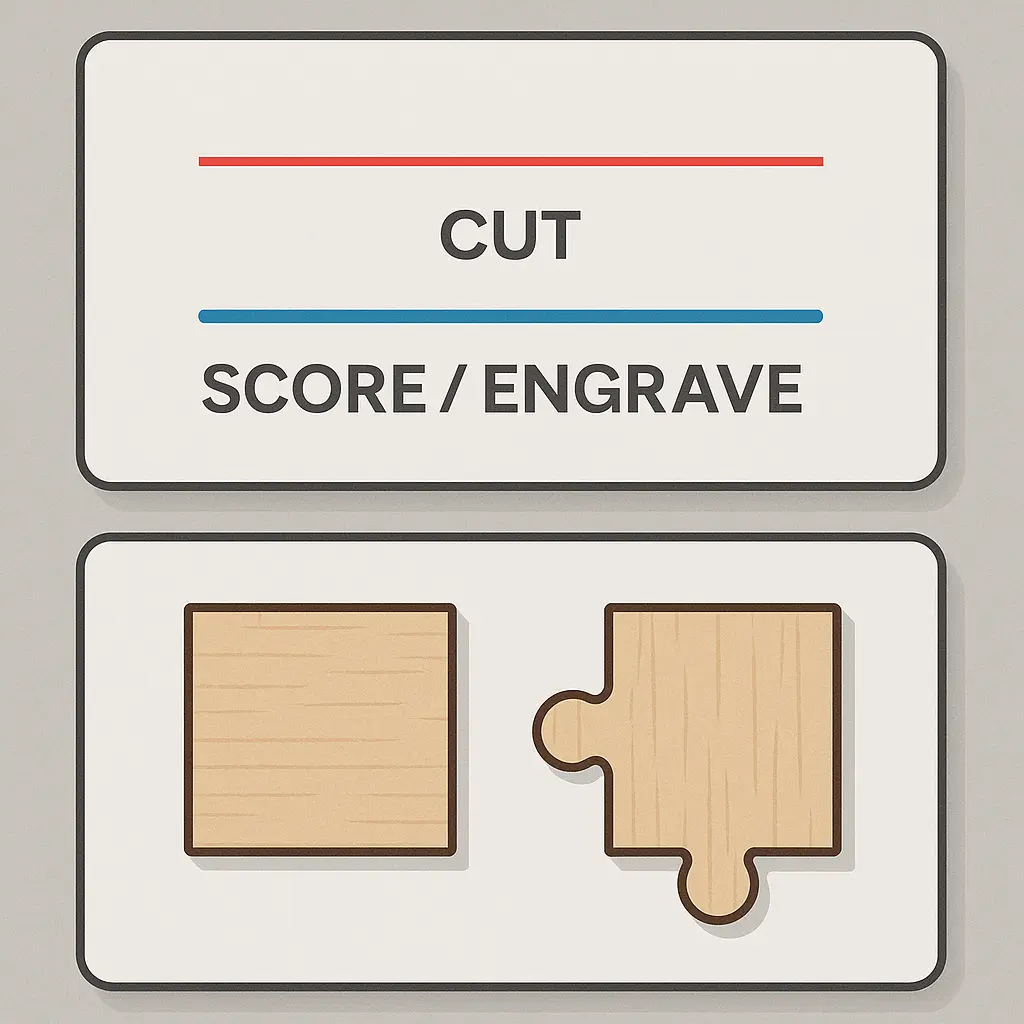
Laser cutters interpret line thickness as instructions:
- Hairline (0.001” or 0.01 mm) = CUT
- Thicker lines = SCORE or ENGAVE
If your cuts aren’t happening, a wrong line weight is often the culprit.
Best Practices
- Use hairline or 0.1pt for all cut paths.
- Keep engraving lines at 0.5pt or thicker for clarity.
- Avoid mixed line weights unless intentionally signaling different operations.
TIP FOR BEGINNERS
Save a preset in your design software for “CUT” and “ENGRAVE” so you don’t accidentally use the wrong settings.
3. Color Code Your File (the Right Way)
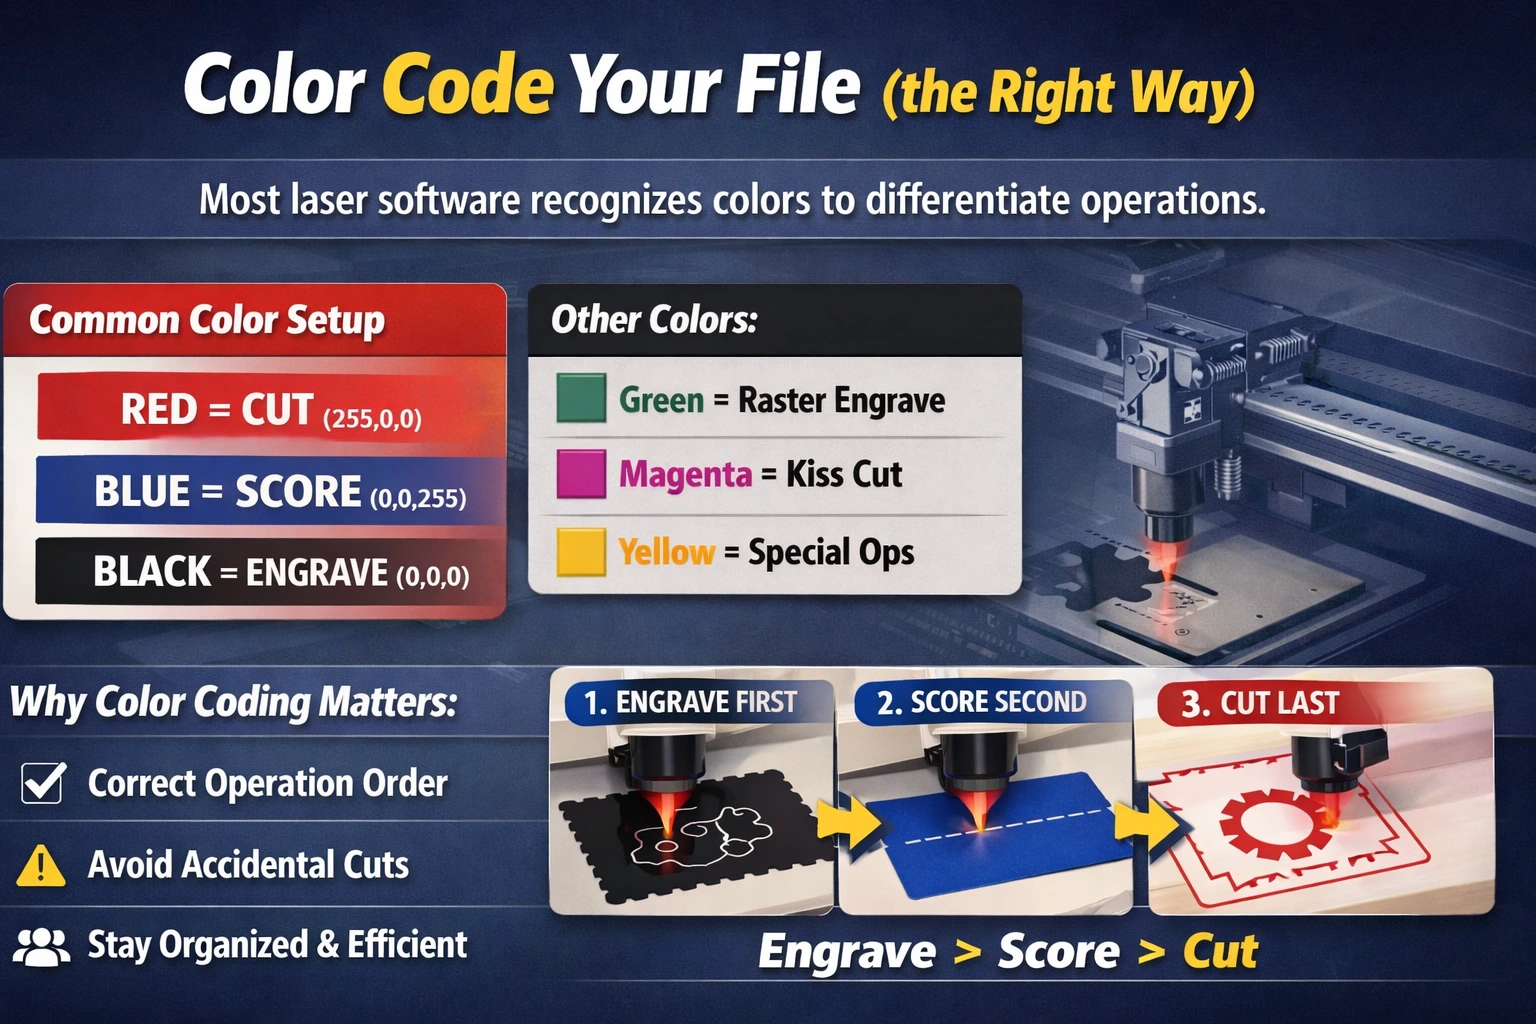
Most laser software recognizes colors to differentiate operations.
Common Color Setup
- Red (RGB 255,0,0) = CUT
- Blue (0,0,255) = SCORE
- Black (0,0,0) = ENGRAVE
Some makers use:
- Green for raster engraves
- Magenta for kiss cuts
- Yellow for special operations
Why Color Coding Matters
- Ensures the laser runs operations in the correct order
- Prevents accidental cuts where only engraves were intended
- Helps you and your team stay organized
Always Follow the Priority Order
- Engrave first (prevents shifting)
- Score second
- Cut last (to avoid pieces falling out early)
This sequence prevents misalignment and breakage.
4. Convert Text to Outlines Before Exporting
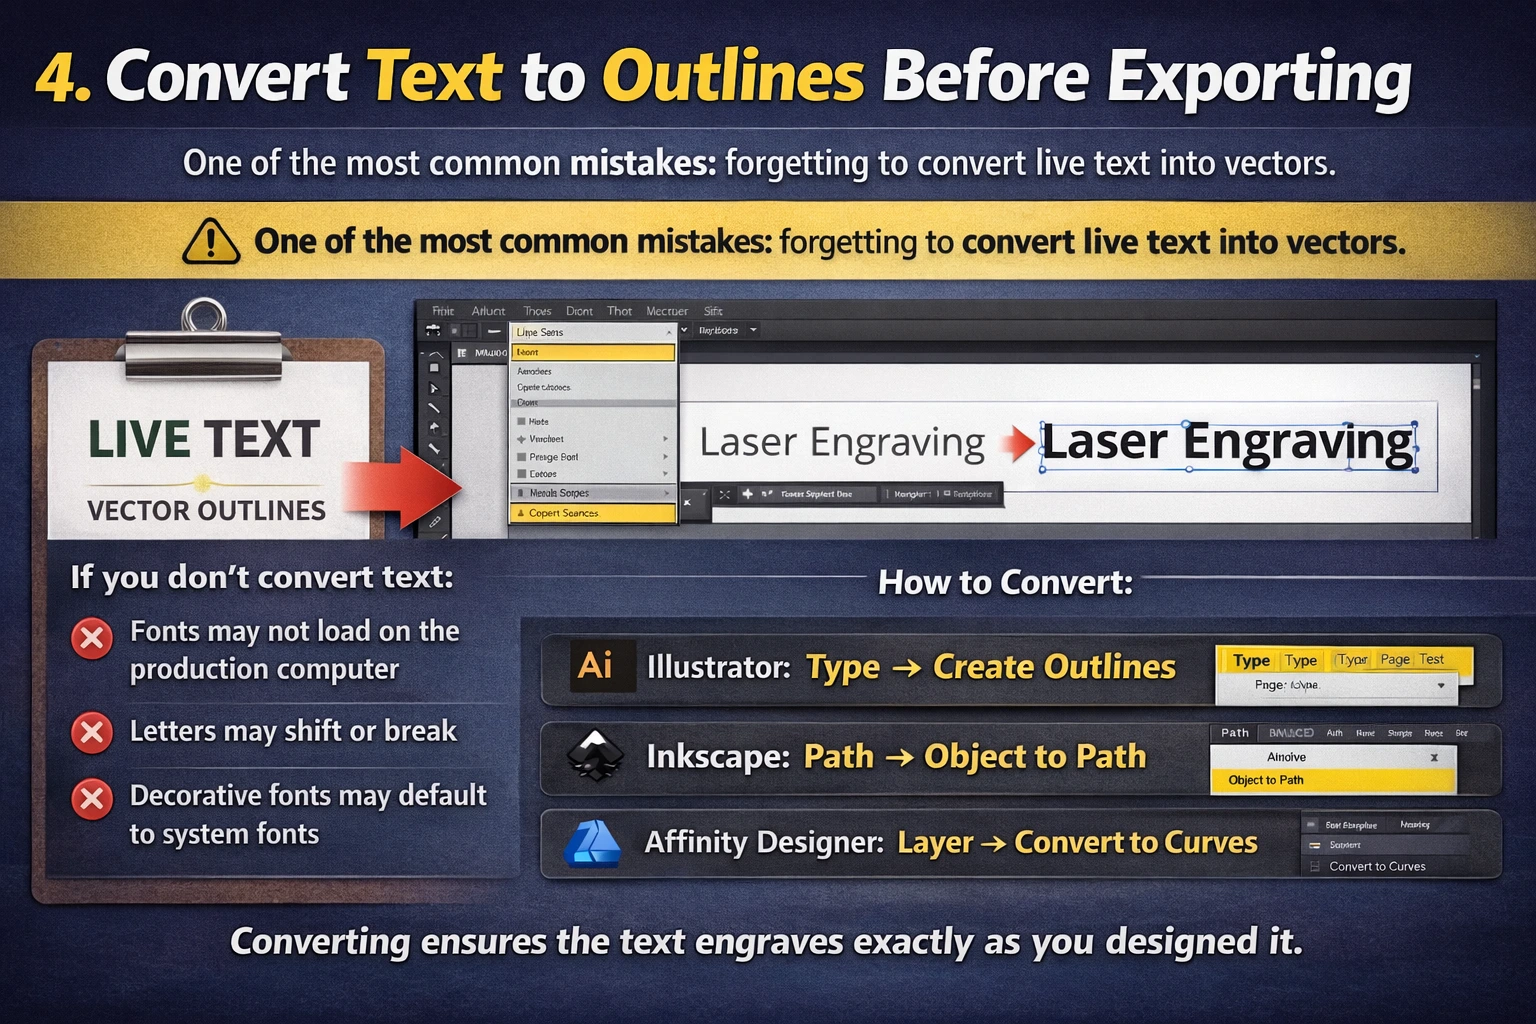
One of the most common mistakes: forgetting to convert live text into vectors.
If you don’t convert text:
- Fonts may not load on the production computer
- Letters may shift or break
- Decorative fonts may default to system fonts
How to Convert
- Illustrator: Type → Create Outlines
- Inkscape: Path → Object to Path
- Affinity Designer: Layer → Convert to Curves
Converting ensures the text engraves exactly as you designed it.
5. Clean Up Your File: Remove Invisible or Duplicate Paths
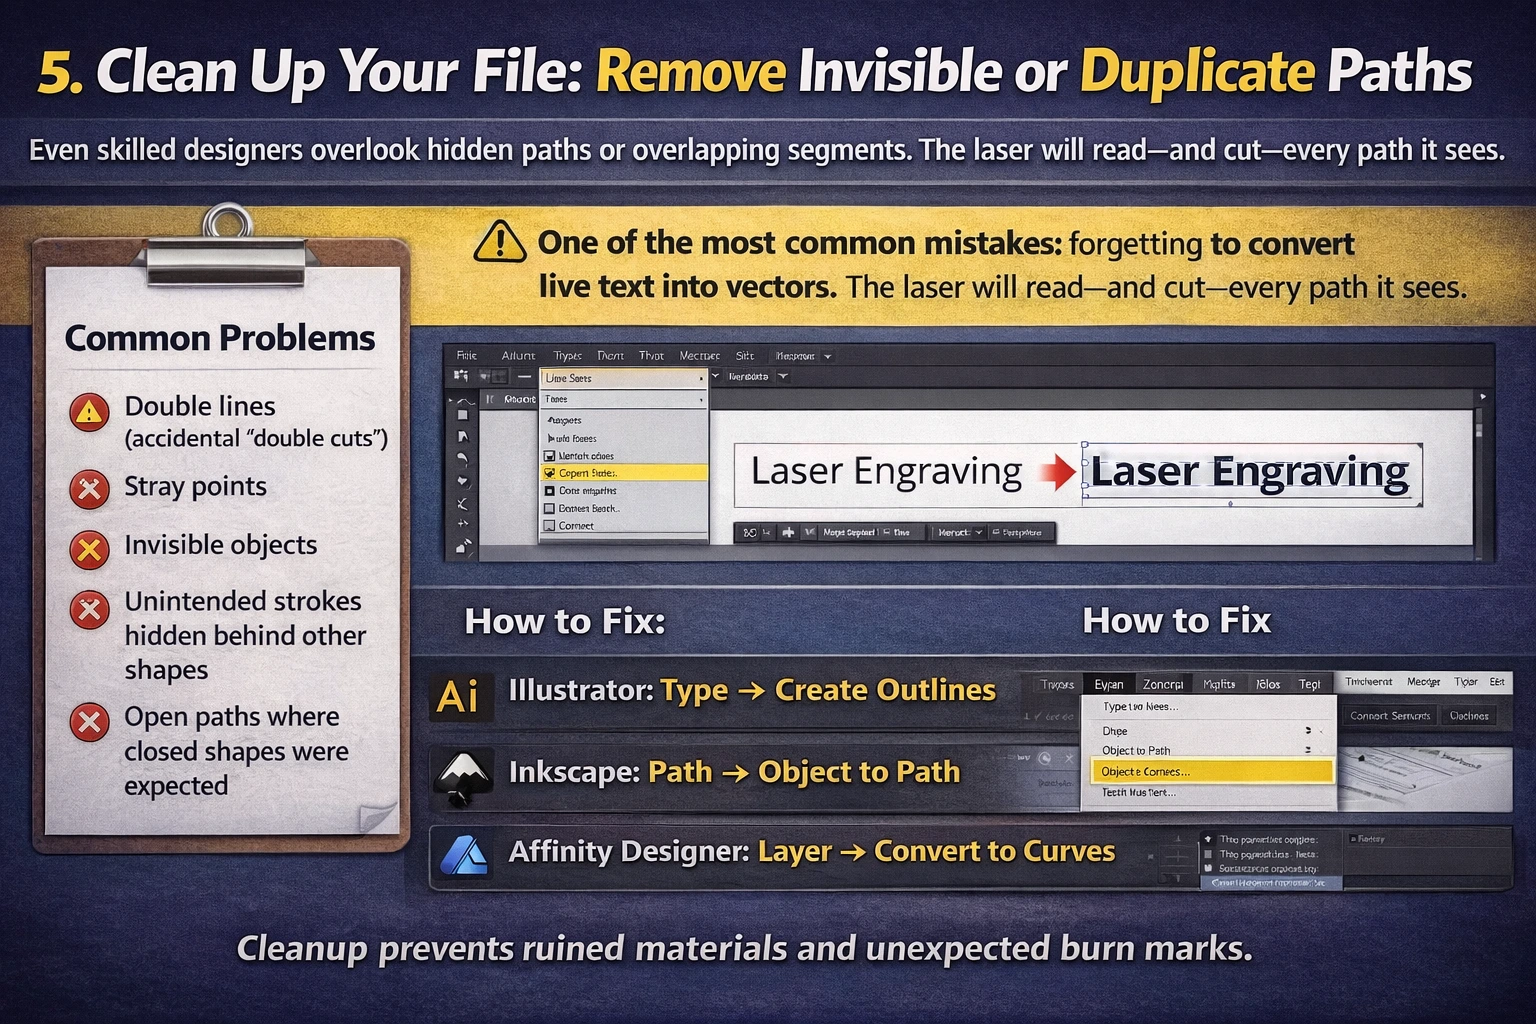
Even skilled designers overlook hidden paths or overlapping segments. The laser will read—and cut—every path it sees.
Common Problems
- Double lines (accidental “double cuts”)
- Stray points
- Invisible objects
- Unintended strokes hidden behind other shapes
- Open paths where closed shapes were expected
How to Fix
- Use “Outline View” to inspect the skeleton of your file.
- Select all and “Combine” or “Join” broken paths.
- Delete duplicates manually or use software cleanup tools.
- Weld or unite overlapping shapes.
Cleanup prevents ruined materials and unexpected burn marks.
6. Use Tolerances for Fitting and Assembly
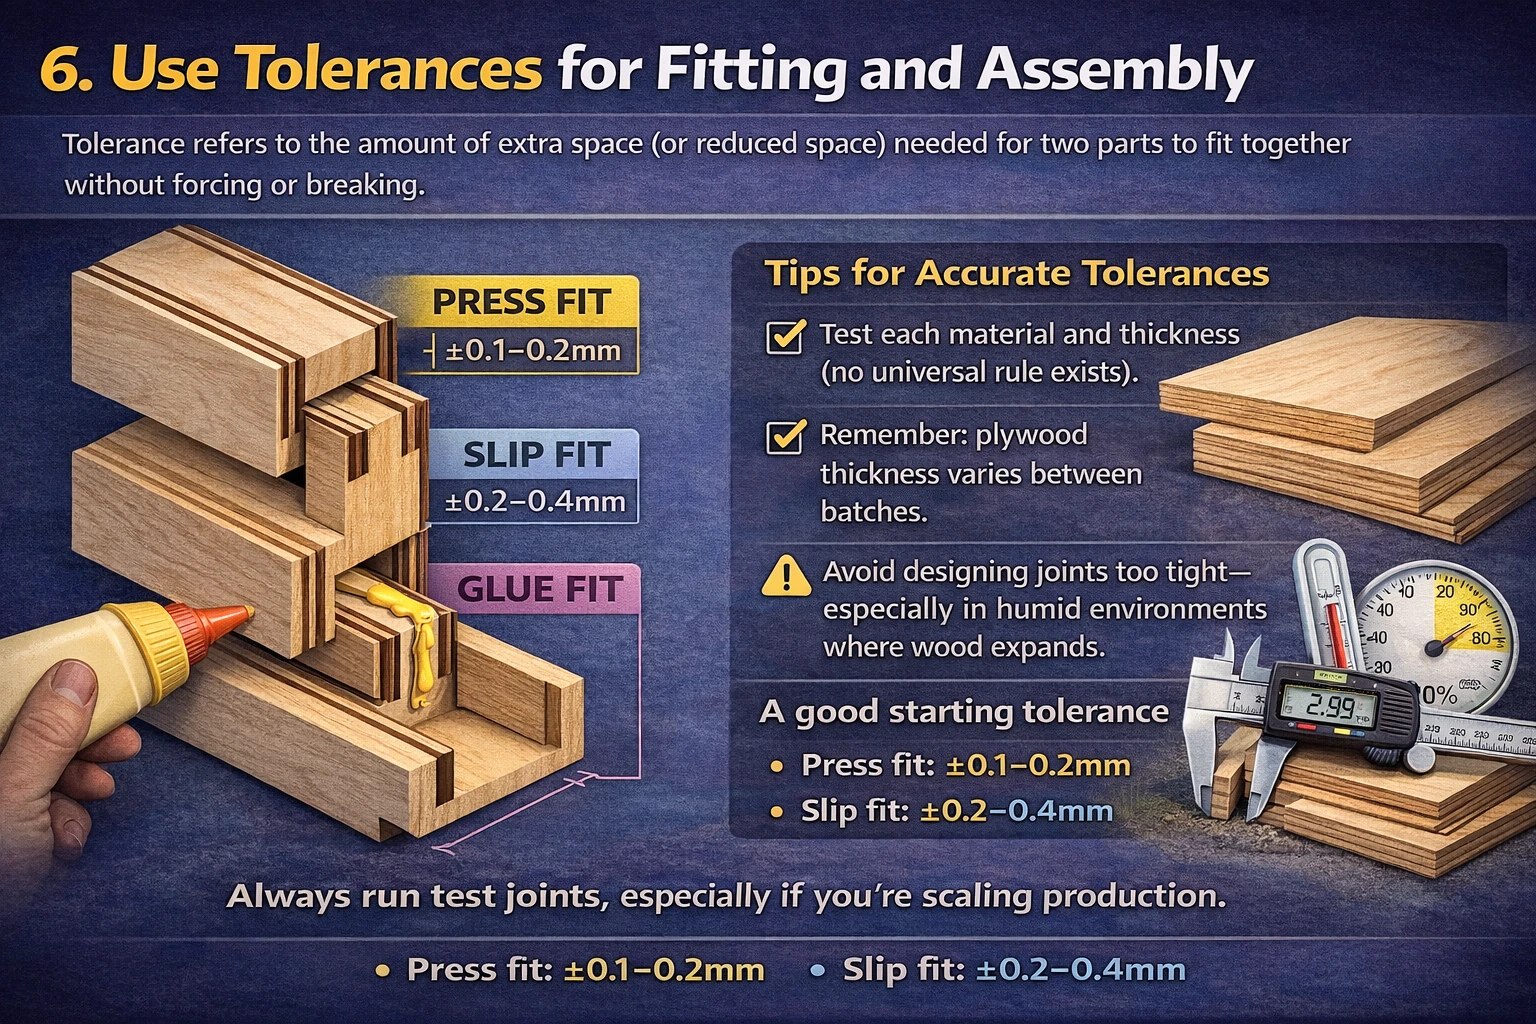
Tolerance refers to the amount of extra space (or reduced space) needed for two parts to fit together without forcing or breaking.
Types of Fits
- Press fit: Tight, secure connection
- Slip fit: Loose, removable connection
- Glue fit: Space left for adhesive
Tips for Accurate Tolerances
- Test each material and thickness (no universal rule exists).
- Remember: plywood thickness varies between batches.
- Avoid designing joints too tight—especially in humid environments where wood expands.
A good starting tolerance
• Press fit: ±0.1–0.2mm
• Slip fit: ±0.2–0.4mm
Always run test joints, especially if you’re scaling production.
7. Avoid Extremely Small Details
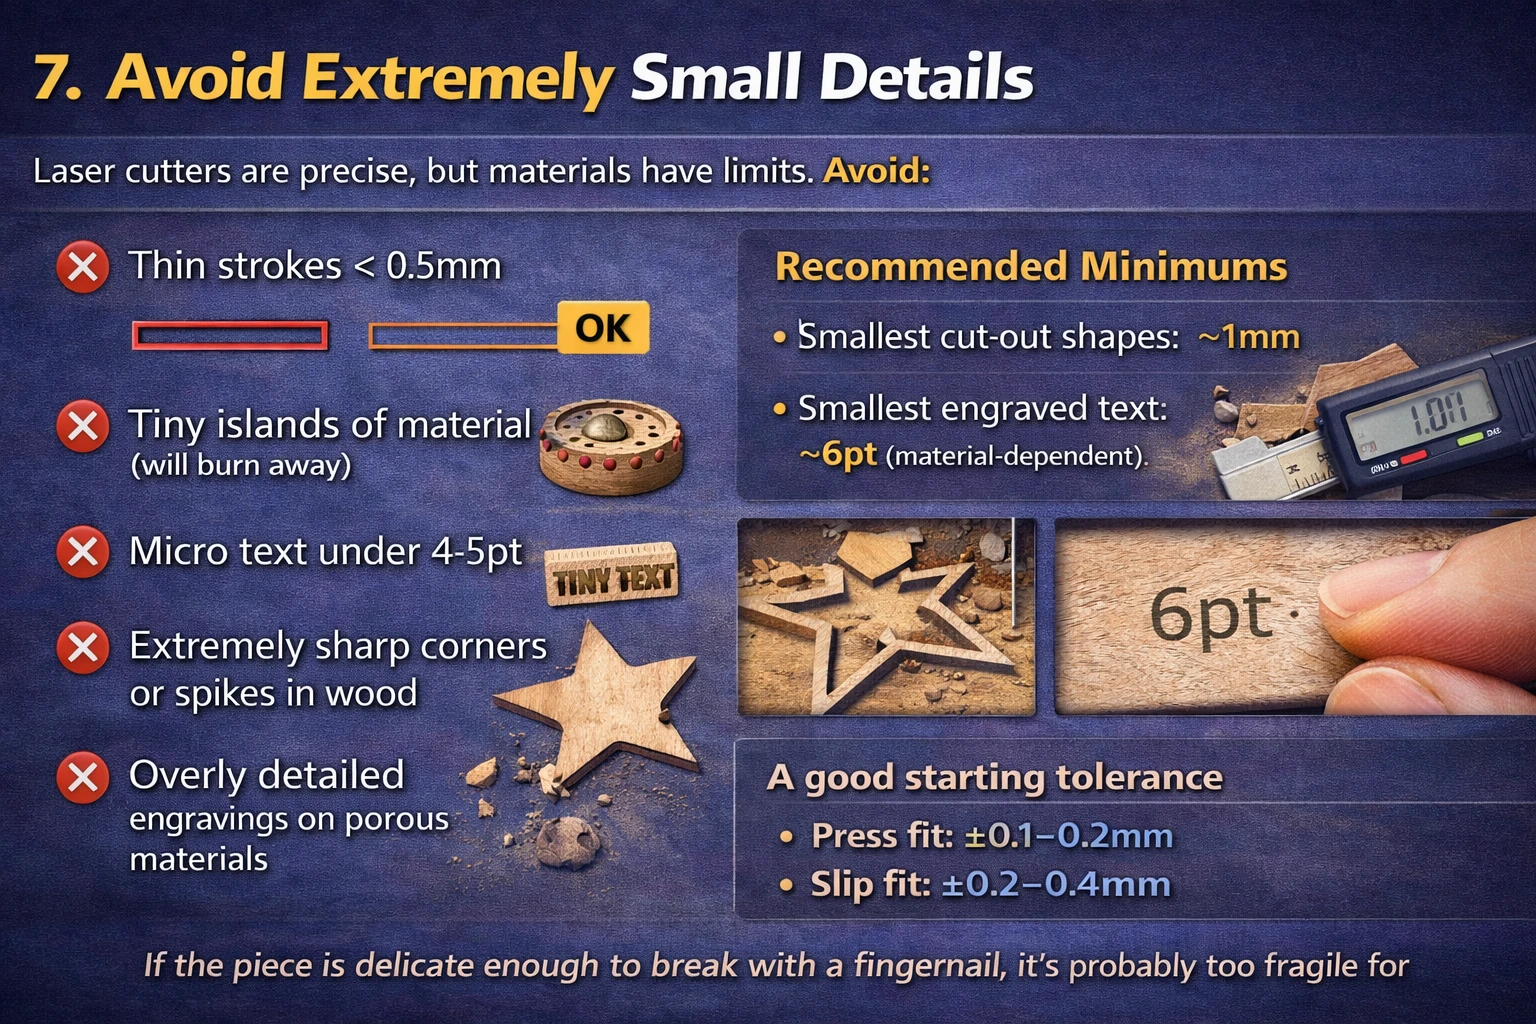
Laser cutters are precise, but materials have limits.
Avoid:
- Thin strokes < 0.5mm
- Tiny islands of material (will burn away)
- Micro text under 4–5pt
- Extremely sharp corners or spikes in wood
- Overly detailed engravings on porous materials
Recommended Minimums
- Smallest cut-out shapes: ~1mm
- Smallest engraved text: ~6pt (material-dependent)
If the piece is delicate enough to break with a fingernail, it’s probably too fragile for real-world use.
8. Account for Material Thickness Variations
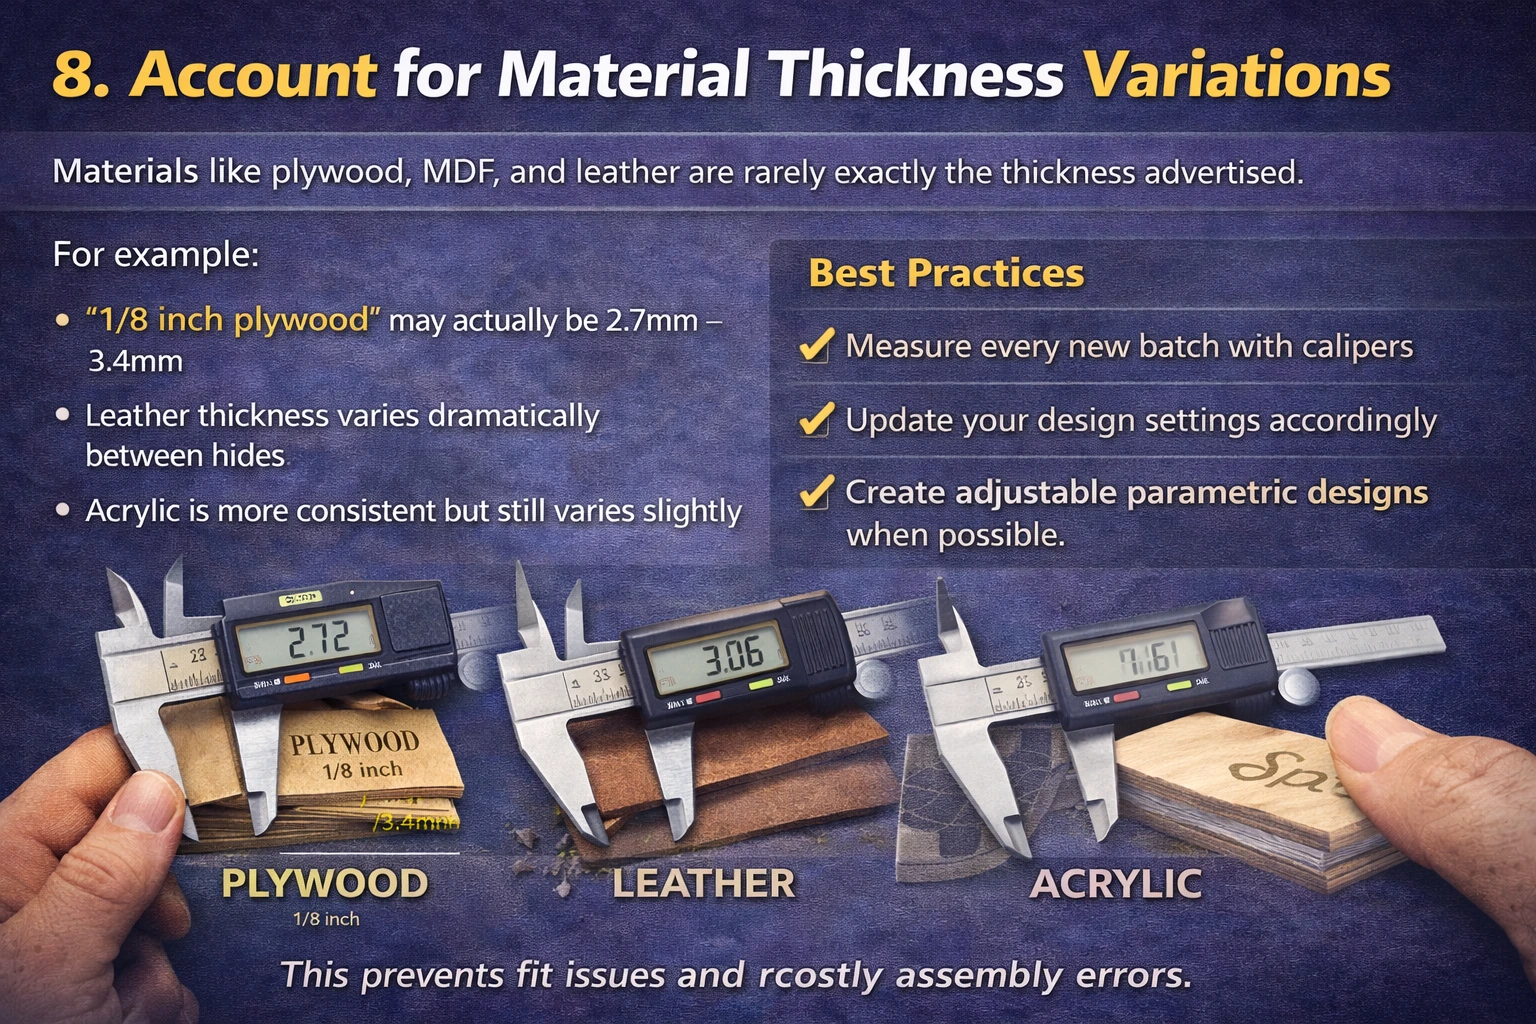
Materials like plywood, MDF, and leather are rarely exactly the thickness advertised.
For example:
- “1/8 inch plywood” may actually be 2.7mm–3.4mm
- Leather thickness varies dramatically between hides
- Acrylic is more consistent but still varies slightly
Best Practices
- Measure every new batch with calipers
- Update your design settings accordingly
- Create adjustable parametric designs when possible
This prevents fit issues and costly assembly errors.
9. Use Efficient Nesting to Reduce Waste
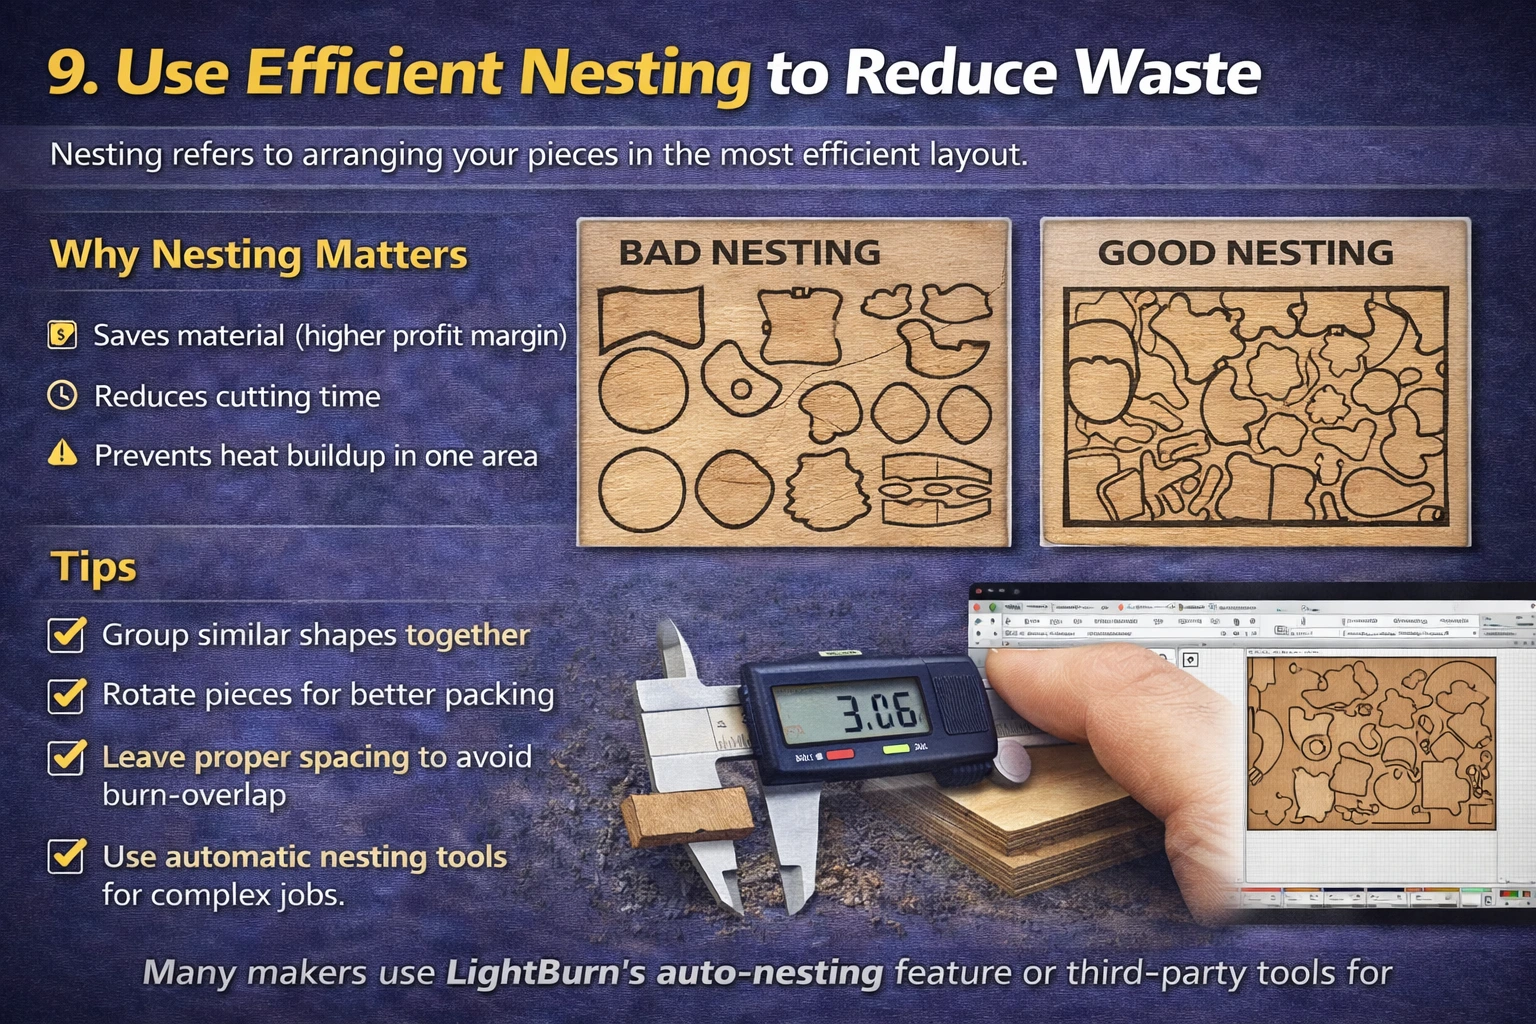
Nesting refers to arranging your pieces in the most efficient layout.
Why Nesting Matters
- Saves material (higher profit margin)
- Reduces cutting time
- Prevents heat buildup in one area
Tips
- Group similar shapes together
- Rotate pieces for better packing
- Leave proper spacing to avoid burn-overlap
- Use automatic nesting tools for complex jobs
Many makers use LightBurn’s auto-nesting feature or third-party tools for large production runs.
10. Prepare Files in the Correct Format
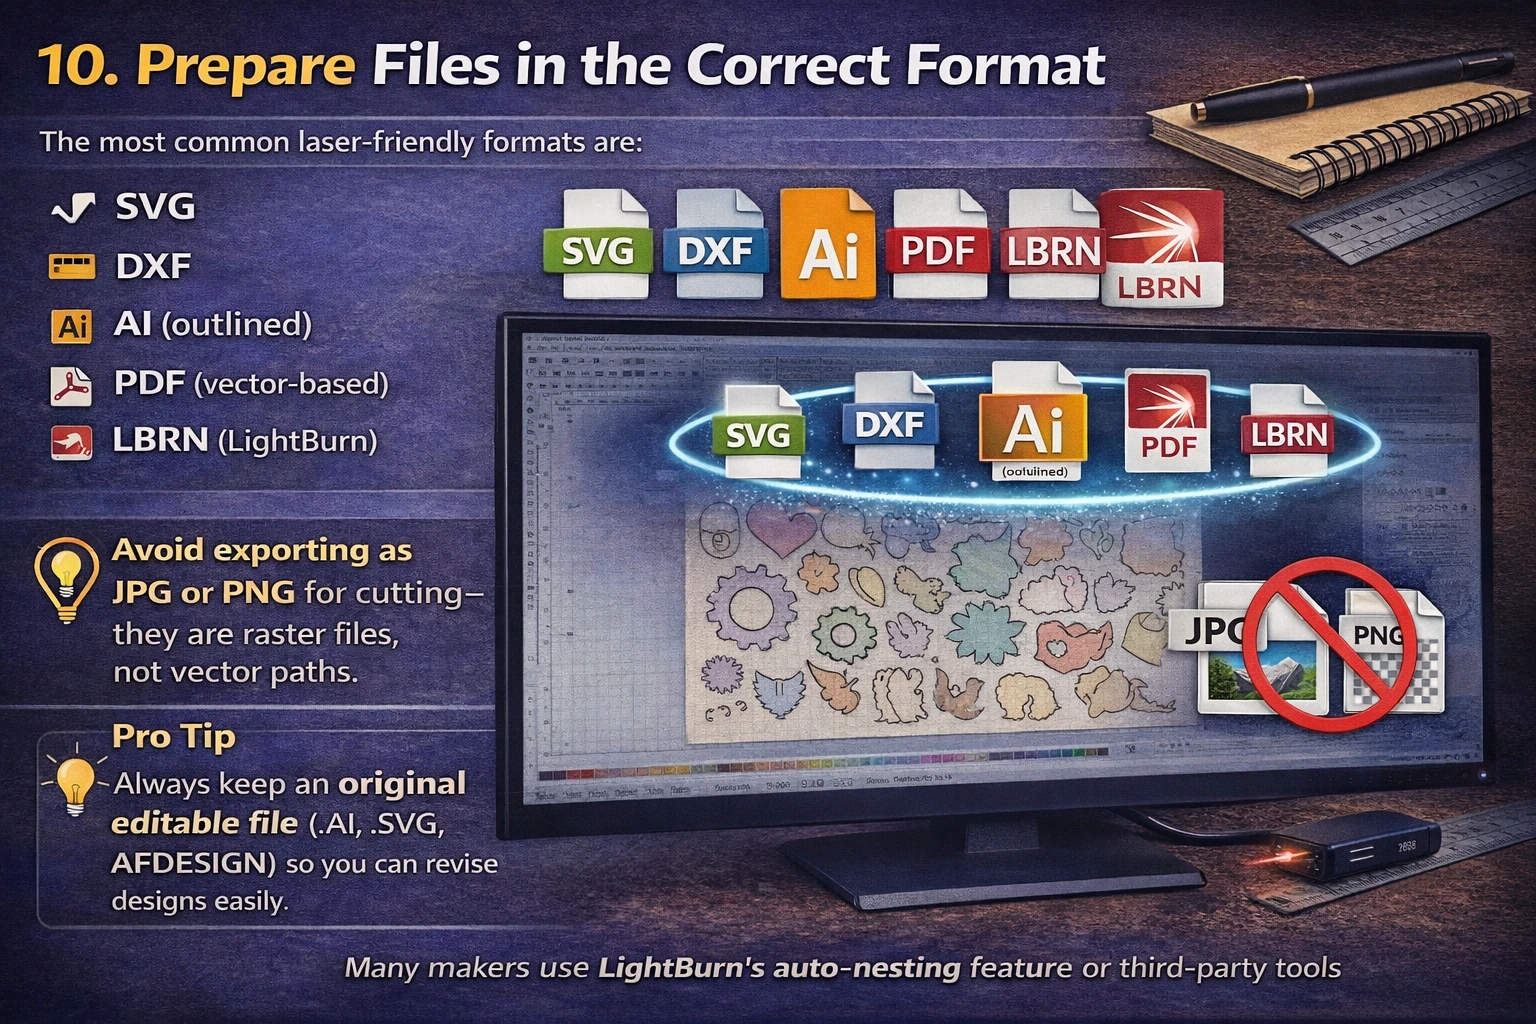
The most common laser-friendly formats are:
- SVG
- DXF
- AI (outlined)
- PDF (vector-based)
- LBRN (LightBurn)
Avoid exporting as JPG or PNG for cutting—they are raster files, not vector paths.
Pro Tip
Always keep an original editable file (.AI, .SVG, .AFDESIGN) so you can revise designs easily.
11. Run Material-Specific Test Cuts

Before producing a final piece, always test:
- Speed
- Power
- Kerf
- Line thickness
- Engrave depth
- Surface finish
Even small parameter differences dramatically impact results.
Many creators keep a settings library or “swatch sheet” for each material.
12. Common Mistakes Beginners Make (and How to Avoid Them)

Using strokes instead of paths
Always convert strokes to outlines when needed.
Forgetting to join open paths
Open paths cause incomplete shapes or weird cuts.
Over-engraving
Too much power burns through thinner materials.
Designing too small
Tiny details are the #1 cause of failed cuts.
Ignoring kerf
Your pieces won’t fit—ever—if you ignore kerf compensation.
Not separating cut layers
Cuts that run too early cause material to shift mid-job.
Avoiding these issues will dramatically improve your production efficiency.
Final Thoughts: Better Designs Lead to Better Products
Laser cutting is a powerful tool, but your designs are the foundation. By understanding kerf, tolerances, file cleanup, and proper vector prep, you’ll dramatically reduce errors, improve product quality, and create a more professional, repeatable production workflow.
Whether you’re a hobbyist or an ecommerce seller producing at scale, these design fundamentals will help you build better products faster—and with fewer headaches.